I have been looking forward to heading back to Rhode Island so I could get back to work on SKORPA.
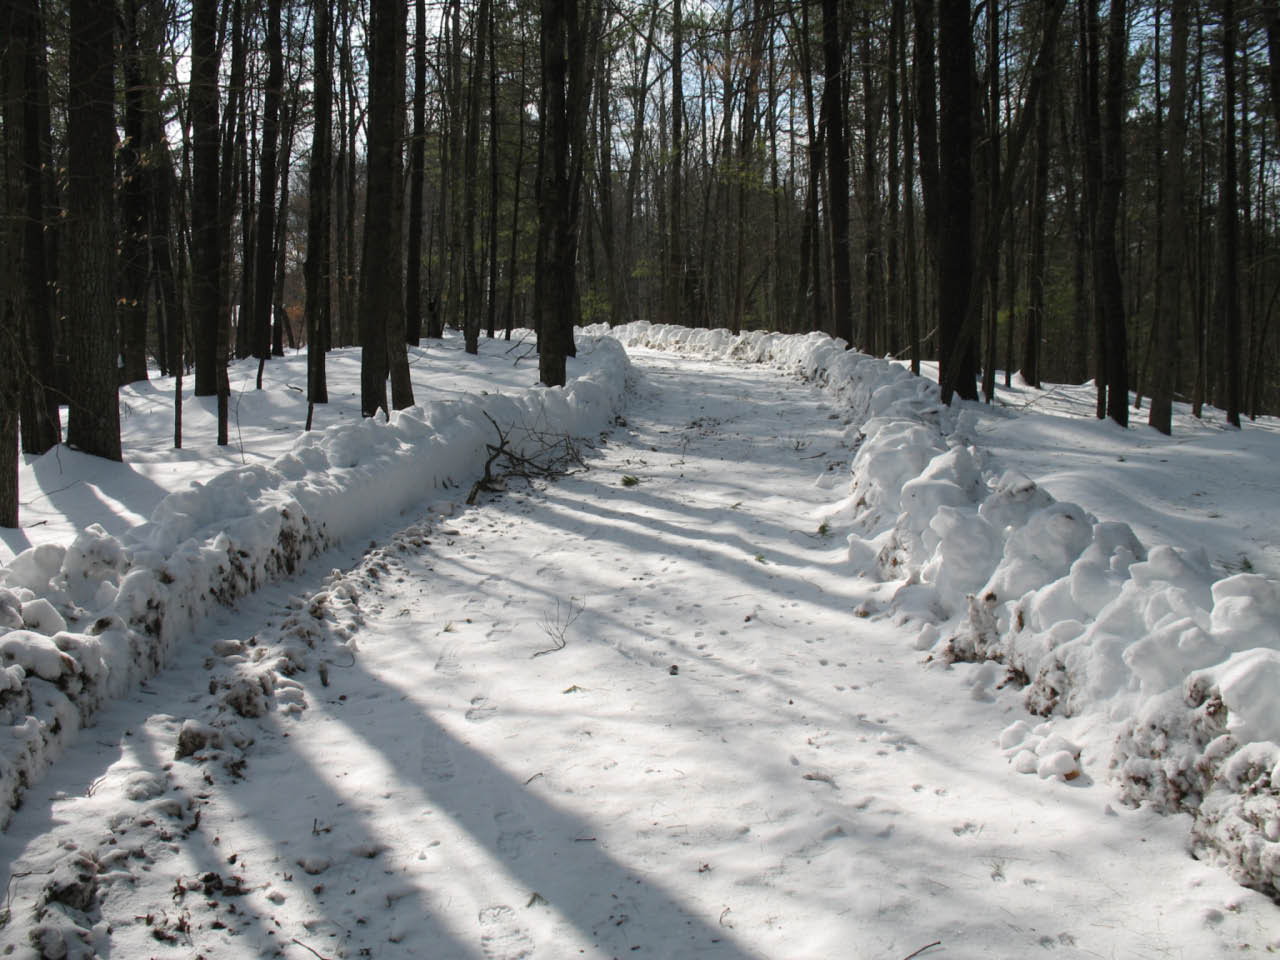
Putting up firewood, felling saw logs, sawing lumber, erecting a fence all tasks that needed to be done. None of them made easier by the beautiful white stuff. A couple of weeks later than I had hoped we left Virginia and headed for my long silent boat shop.
Everything was just as I had left it. Not a thing had been done.All the work I had done last summer looked pretty solid. Nothing had sprung apart.
First order of business is to glue in the mid transom beam. It was already fitted just needed some creative clamping arrangement to hold it in place.
I need to put pressure on the beam running down the center inside of the transom, way too deep for any clamp I own to reach.
With some scrap lumber and my ordinary C clamps I have an arrangement that can put just the right amount of pressure just where I want it.
Here as the clamps are being removed you can see that the mid transom beam is laminated from two pieces and wraps nicely around the king post or whatever that big board going up the center of the transom is called.
High on the list of things to do is the centerboard and centerboard case.
Monday, March 29, 2010
Tuesday, October 13, 2009
Interior work
Sally and I are preparing to head home to Virginia. Skorpa is not ready to come with us yet. Here are a few photos to bring things up to date.

I placed some glass fiber to reinforce the forward section.

This is a view looking down into the forward section. Bulkhead number one has been filleted and taped.

Framing in the seats.

Here are a few shots just to show where we are. She is beginning to look like a boat!


I placed some glass fiber to reinforce the forward section.

This is a view looking down into the forward section. Bulkhead number one has been filleted and taped.

Framing in the seats.

Here are a few shots just to show where we are. She is beginning to look like a boat!


Monday, September 21, 2009
Bulkheads
After running fillets and fiberglass tape on both chines it is time to install some bulkheads.
This is the aft bulkhead along with a nice assortment of my clamps.

Then I did bulkhead number 3 the lower cabin bulkhead.

In the lower cabin bulkhead you can see a slot on the left side. This slot will be enlarged later to accommodate the the center board trunk. The trickiest part of installing a bulkhead is getting the right shape to fit. The aft bulkheads have fairly straight lines so it is possible to take several measurements and come up with a close approximation of the required shape.
The forward bulkhead is a bit more complex. I used a different strategy.

I used a plumb bob to establish a line where the bulkhead will meet the hull.

Sally is checking out the pattern I have made. I installed a scrap piece of plywood in the location for bulkhead number 1. Then I stapled little scraps of plywood like fingers touching all the important points around the perimeter and some inbetween.

OK now what?

How did that cat cat up there without altering the precise position of any of my indicator strips?

I made a mark at the tip of each indicator strip, connected with some fair lines and cut out with a jig saw.
This is the aft bulkhead along with a nice assortment of my clamps.

Then I did bulkhead number 3 the lower cabin bulkhead.

In the lower cabin bulkhead you can see a slot on the left side. This slot will be enlarged later to accommodate the the center board trunk. The trickiest part of installing a bulkhead is getting the right shape to fit. The aft bulkheads have fairly straight lines so it is possible to take several measurements and come up with a close approximation of the required shape.
The forward bulkhead is a bit more complex. I used a different strategy.

I used a plumb bob to establish a line where the bulkhead will meet the hull.

Sally is checking out the pattern I have made. I installed a scrap piece of plywood in the location for bulkhead number 1. Then I stapled little scraps of plywood like fingers touching all the important points around the perimeter and some inbetween.

OK now what?

How did that cat cat up there without altering the precise position of any of my indicator strips?

I made a mark at the tip of each indicator strip, connected with some fair lines and cut out with a jig saw.
Wednesday, September 16, 2009
What do you do with a very large skiff?
Here are some photos taken just after the jig was removed.

I fitted some temporary thwarts to hold things together until some of the internal structure is installed

That is the stem sitting up there in the bow. I had some concern that something would spring loose when the jig was removed, but all the plywood acted like it had no intention of going anywhere.

What do you do with a very large skiff?
Why you fillet.
Pronounced fill it.

Thickened epoxy is placed in the chine and then shaped to a concave surface.


After the fillet sets up just a little, a layer of fiberglass tape is laid down. Then the glass cloth is saturated with unthickened epoxy.
Tuesday, September 15, 2009
Lets get her setting on her DWL
DWL is the design water line.
If a boat is sitting on a very still lake, the line around the boat that the surface of the water creates is right on the DWL. That is if the boat is loaded properly and everything went according to plan.
I wanted to do two things before I removed the building forms.
First is to level the boat fore and aft as well as side to side. It is easiest to do this before the jig is removed because the base of the jig lies in a straight line parallel to the DWL.

Sally is adjusting one of the straps that has the hull suspended so it can be leveled and a cradle fitted under.
Second is to build a cradle that will support the boat while I finish the interior.

This is the forward cradle. I wanted something to hug the hull and prevent the forward sections from spreading when the jig was removed.

This is a support for the hull about two feet forward of the transom.

My third support structure is a little less elaborate. Go figure.
Sunday, August 9, 2009
Roll Roll Roll your Boat
My boat moves out to see the light of day.

The boat and jig together are pretty heavy.
I can not even lift one corner of the boat.
It feels like it is fastened to the ground.
I use pipes for rollers. Sally and Judy help me roll the boat out into the driveway.

Hoping for a soft landing.
Many thanks to my neighbors the Baldwins and the Ciolfis for their able assistance.


Back to bed right side up.


Goodnight

The boat and jig together are pretty heavy.
I can not even lift one corner of the boat.
It feels like it is fastened to the ground.
I use pipes for rollers. Sally and Judy help me roll the boat out into the driveway.

Hoping for a soft landing.

Many thanks to my neighbors the Baldwins and the Ciolfis for their able assistance.


Back to bed right side up.


Goodnight
Zenos Paradox resolved
The stem of my boat was not moving and yet I have been having trouble reaching it.

Finally I remembered Marks solution to the paradox.
I got as close as I could to the stem, then I bridged the gap with some epoxy thickened with wood flour.

Voila!
The hull planking is complete at last.
Next the boat needs to be rolled over so that the temporary forms can be removed and the interior finished.

Finally I remembered Marks solution to the paradox.
I got as close as I could to the stem, then I bridged the gap with some epoxy thickened with wood flour.

Voila!
The hull planking is complete at last.
Next the boat needs to be rolled over so that the temporary forms can be removed and the interior finished.
Subscribe to:
Posts (Atom)