Below is a view of Mouse Harbor from Google Earth. Much of the area is part of the Goose Island Wildlife Management Area. The dark areas look like ponds perhaps managed for waterfowl habitat. The plan was to poke into the creeks and ditches and see what we could find out.


We arrived at Chapel Creek Tuesday evening. I wanted to launch the boat and sleep aboard tied up to the dock, but dark was soon upon us. I did not want to risk some sort of mishap in the darkness so we slept on the boat on the trailer and launched in the morning.
The forecast called for winds 20-25kt, cloudy and cool. We decided to delay our departure. There was lots to do helping Beth get the grounds and boats ready for the Messabout coming up on Friday.
Thursday the forecast remained 20-25kt but sunnier which always helps. Our three day trip had now been reduced to two days. The gusty Northwest winds meant it would be a long slog up to Mouse Harbor with lots of fetch to build the chop as we crossed several good size bays. Plan B was to explore the canal that connects the mouth of Gale Creek to Jones Bay. A close look at Google Earth revealed what looked like a dead tree partially blocking the canal, but who knows when that photo was taken. Alan said he remembered sailing through the canal a few months back so that gave me confidence that we would be able to navigate the ditch.

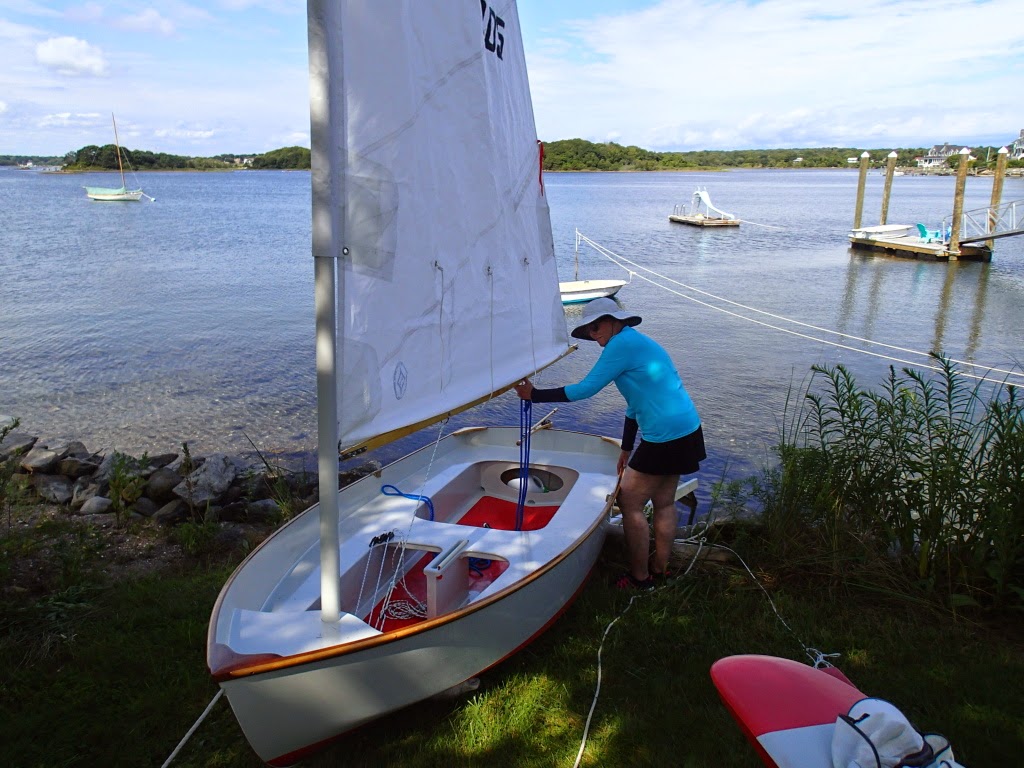
The winds were 10kts or so when we left the dock, but anticipating they would build as we neared the mouth of the Bay River we started out double reefed. That is Graham Byrnes out on the end of the dock. He and Alan came down from the shop to see us off. The photo is courtesy of Alan Stewart.
We averaged around 5 to 6 kts with occasional runs up to 7 kts as we made our way down the Bay River. That is pretty good speed considering we had two reefs in. It is the kind of sailing Sally really loves but, I couldn't help thinking about how fast we would be going if we shook out the reefs. Later though I would be glad we had the reefs in place.
We sailed past Vandemere Creek on a reach and then a broad reach and sometimes a run as we followed the Bay River past Bear Creek to the mouth of Gale Creek. Up ahead we could see the parade of snow birds heading south. Sailing vessels and motor yachts each spaced about a 1/4 mile apart. The Intracoastal Waterway exits the ditch at the mouth of Gale Creek. From there the ICW follows the Bay River out into the Pamlico Sound. Then the ICW enters the Neuse River for a ways before taking another canal down to Beaufort.
Our destination, Ditch Creek was hidden on the east shore a little ways up Gale Creek. The Creek runs Northwest here so we were tacking into the stiff Northwest breeze. Up ahead we could see a large motor yacht barreling down the ditch, she was kicking up a huge wake. The water shoals up outside the channel and the chart indicated some sort of obstruction just east of the channel PA. Position Approximate that is never reassuring. We short tacked as far east of the channel as we dared. As the big boat neared us she slowed down to a reasonable speed and her wake nearly disappeared. How courteous. She looked well over a hundred feet in length. We waved a thank you to the one person we could see at the helm.
The creeks in this area of the coast twist and turn through shores of spartina grass. When you look up their mouth from a Bay or a larger River all you see is the overlapping shores of spartina grass. it is almost impossible to pick out the entrance to some of the creeks even if you are looking right at it.
Trusting our GPS and chart we headed away from Gale Creek and the ICW. We rounded up and dropped the hook close to some grass in 2 or 3 feet of water. I furled the main and we enjoyed our lunch sheltered from the waves and somewhat from the wind. During lunch we reviewed the chart and discussed our options. The Northwest wind should allow us to sail Northeast up the canal and the wind should diminish as we moved inland. Not being familiar with the area or certain of the current condition of the canal we wanted to proceed cautiously. We elected to continue under double reefed mizzen alone. This would limit our ability to work upwind if that became necessary but, it would allow us to limit our speed and depower quickly. We can sail in less than a foot of water but controlling the boat with the board and rudder partially down becomes less precise. We spotted a white post as we rounded a bend. The GPS though was indicating we should follow a more northerly course. The GPS is amazingly accurate but maneuvering through the marsh is like entering a maze. Just a few feet often separates following one lead or another. The GPS was pointing us off to windward and after a hundred yards or so we reached a cul de sac, but since we had been making some progress to windward returning to the white post was easy. Just around from the white post we could see a canal 25-30 feet wide straight as an arrow heading Northeast, Ditch Creek Canal.

Starting down Ditch Creek Canal. These canals and mosquito ditches were dug way back when in an attempt to drain the marshes.

In the above photo Gale Creek is on the left. You can see how the channel narrows with shoal water on either side just before it empties into the Bay River. A little way up Gale Creek Ditch Creek heads east. We took the northern branch and from there you can see a canal heading Northeast to the Jones Bay Ditch Creek. Running perpendicular to the major canals are smaller ditches called by locals mosquito ditches.


Cruising down the Ditch Creek Canal. The water depth was 2 to 3 feet. The wind behind us. Beautiful. After we exited the canal we explored around and found a little cove tucked up into the marsh on the western shore, but it was only 3 o'clock. Sally would have been happy to settle down early but I wanted to push on a little further and explore Jones Bay. The wind was blowing straight down Jones Bay and we could see white caps, and the wind was beginning to build. Spray was flying off the bow and streaming aft. The crew sits forward of the helmsperson and so takes the brunt of the spray when running close hauled into the waves and wind. After a particularly good dousing Sally turned and looked at me and I could see it was a little past time to come about. Soon we were back in the shelter of the creek but even here the wind was gusty. We found a sheltered spot and dropped anchor.

Sally enjoying the sun's warmth and a sheltered anchorage. It always amazes me that we can enjoy such peace and serenity such a short time and distance from spray flying over the bow.

Dinner was brown rice, curried vegetables and smoked herring. It takes about twenty minutes to cook the rice and the vegetables in the pressure cooker. The rice gets cooked first then we open the cooker and throw in the carrots, onions or whatever, bring back up to pressure then stir in the smoked herring and serve. That was delicious. Then while we were eating we cooked a cobbler. We peeled the apples and tossed in a mixture of oats, dry milk, brown sugar, whole wheat flour, and cinnamon that Sally had prepared at home. We enjoyed a royal feast.


As the sun went down the mosquitos came out and I retreated into the cabin. We installed a screen on the hatch so we could have the ventilation necessary to keep condensation to a tolerable level.

We read and studied charts and just relaxed for the evening. The night was the quietest I can ever remember on a boat. There were no halyards banging, nothing creaked, no water sloshed, slapped or gurgled, against the hull, there was no rocking, no sense of motion at all. It felt like the boat was set in molasses. It was quieter and more solid then last night when we slept on the trailer. I awoke in the middle of the night to check on things. When I looked out the portlights at first I could see nothing but darkness but then I could make out the silhouette of the marsh and I could see by the slowly moving lumps that the boat was gently swaying back and forth at her anchor. The motion so smooth it could not be perceived like the rotation of our planet as it hurls through space.
I was up early and fixed some hot cereal. The sky was just beginning to lighten in the east. The wind was very light from the Northwest. It was too dark to sail so I weighed anchor and rowed and drifted. Our plan was to try and find the entrance to a different ditch that would take us to Dump Creek and then back to the Bay River. The entrance was off to the Southeast. So we just drifted and I rowed a little and watched the stars slowly fade.

We found what we are calling the Dump Creek Ditch. Not very poetic, but that is it.

There was an eerie silence at our anchorage but as we entered the canal and the sun began to peep above the trees we were serenaded by redwing blackbirds that sang from the small trees and shrubs that lined the canal.
I am sure when they dug the ditches the muck was deposited right along side. This made for some higher drier ground and the narrow line of trees and shrubs that grow along side the canals.

This one with the bright red berries is Yaupon, Ilex Vomitoria. Native Americans made a tea from the roasted leaves and twigs. It is the only North American plant that contains caffeine.
The canal slowly transitioned into the wider and meandering Dump Creek which brought us to the Bay River and a bit of culture shock. Coming up the Bay River was a tug pushing a huge barge. He looked like a tight fit for some parts of the ICW but that was where he was heading. Then a Coast Guard Helicopter and a 45 foot Response Boat exited Gale Creek followed by the snow birds. We felt like we needed to look both ways before proceeding up the Bay River.

The chopper was practicing lowering a sling to a swimmer in the water. The swimmer would grab the sling and get lifted a dozen feet into the air then he would drop back into the water and chase after the sling again.


When we reached the mouth of Dump Creek the winds were light and the forecast was for 10-15 kts from the Northwest so we took the reefs out and raised all sail. We had a beautiful and quieter sail tacking up the Bay River and back to the dock at Chapel Creek for the BandB Messabout. Along the way we spotted a Bald Eagle!